The last thing you want your website to do is move at snail’s pace. An average user waits no more than 5 seconds for a website to render. Research has shown that websites which render slow fail to impress the visitors. One of your primary goals during the web development phase is to create a website which loads fast on the web browser. If you are using WordPress as your content management system you can speed up the website using a CDN or a content delivery network.
What is a Content Delivery Network?
A content delivery network or a CDN is a mechanism in which the data of your website is placed in various locations in a network. This is done to maximize the bandwidth access to the data from the client’s server. In simple words all your common files such as CSS, JavaScript, images, videos and multimedia elements are distributed in a CDN. This network serves content from the closest CDN edge server to the user. The main purpose of the CDN is to distribute static media to users who are visiting your website.
Content Delivery Network uses a geographical DNS resolution that makes sure that the client’s server hits a CDN server closest to the client’s geographic location. In doing so the content is delivered faster to the client’s server. Here a client accesses a copy of the data from the nearest client rather than all the clients accessing it from a central server and clogging it. This mechanism has worked wonders in sharing resources and speeding up WordPress websites. Apart from speed CDN networks also boost the security of the website and also make it 100% available even if one or two servers fail to respond.
Subscribe To CDN Service
To make use of this service you will need to subscribe to the service from CDN providers. The cost varies among different service providers. The CDN service providers will ensure that the data is delivered from the closest geo location of the request. You will need to configure the CDN URL which will vary depending on your service provider.
Add Content Delivery Network
Once you have subscribed to a CDN service you need to login. Here we are using the example of myinstantcdn.com.
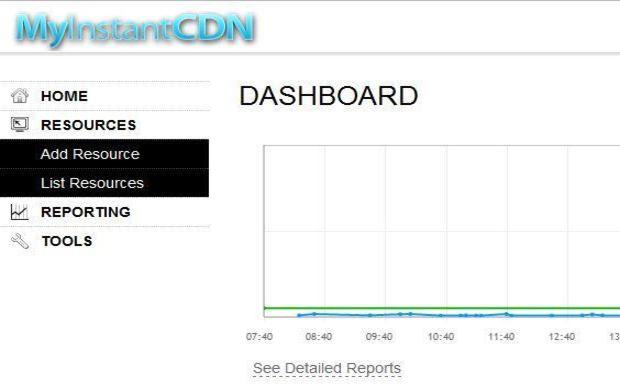 click on ‘Add Resource’. Here you will come across Add CDN Site page. Navigate to the settings panel and configure it by stating your CDN Hostname and the origin site. For example to enter CDN Hostname, type cdn.mysite.com and origin site mysite.com.
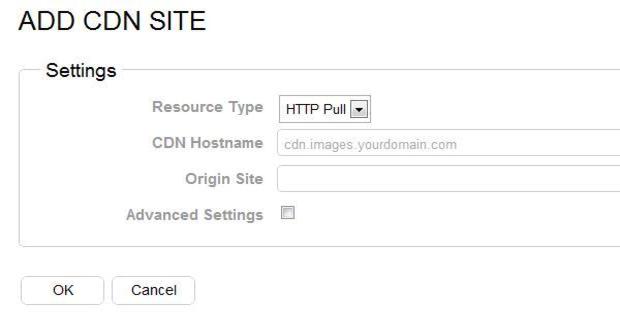
Check the box ‘Advanced Settings’ and this allows you to configure features like Content Partitioning, Hotlinking Protection, URL Signing and also Multiple Origins. This option is however optional and is purely based on your needs.
Click OK and go to the next page where you will come across resource validation or CNAME record. Here it will state that your CDN is active.
Navigate to the cPanel and configure the CNAME. 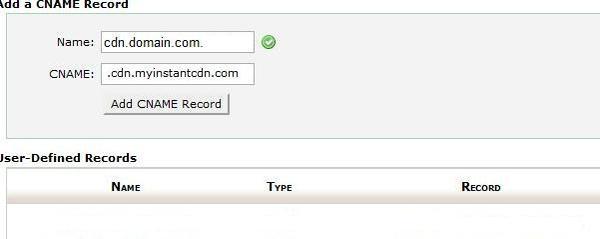 Steps To Integrate CDN with WordPress
Integrating a Content Delivery Network in WordPress is pretty easy. Here we shall look at the steps involved in integrating a CDN into your WordPress website.
1. Login to WordPress admin panel using your username and password.
2. Once you have logged in you need to navigate to plugins page then click on ‘Add New’ to add a new plugin to the WordPress website.
3. In this step we shall install W3 Total Cache plugin. This plugin is desired to improve the page speed and performance of the website. You can search for it in the designated field and then click on ‘Install Now’ link.
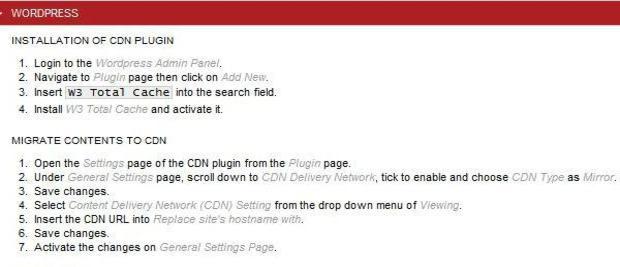 4. After the plugin has been installed you need to activate it. Now that the plugin has been activated it is time to migrate the contents to a CDN.
5. In the next step you need to go to the settings page of the W3 Total Cache plugin. Follow the steps – Plugins -> tick the checkbox of W3 Total Cache plugin.
6. In the General Settings page you need to click on CDN link which will scroll down the page to CDN configuration settings.
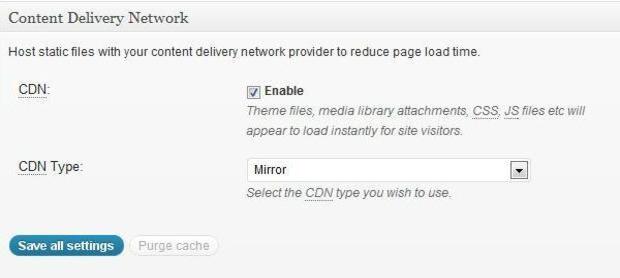
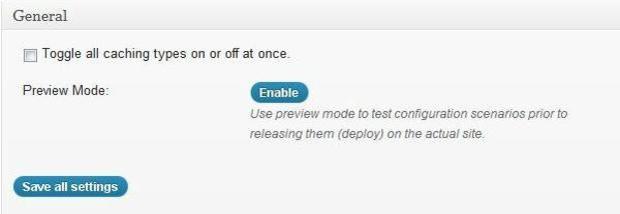 7. Once you are in the configuration page you need to enable option for CDN and choose CDN Type as Generic Mirror and click on ‘Save’ all settings button. After this you will need to go to the CDN option from General Settings.
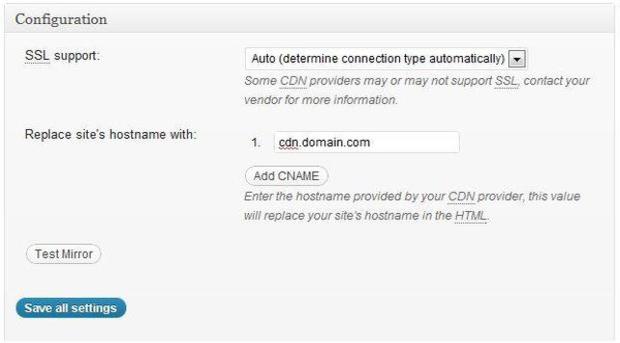
 8. Now we have come to the business end of the integration. Insert the CDN URL into ‘Replace site’s hostname’ with field and save the settings. To activate the changes made click the deploy button on the General Settings page and you are done.
 9. The last step involved verifying your WordPress site and its integration with the Content Delivery Network. For this you need to view the HTML Source Code by pressing Ctrl+U. Here you will see the image and media URLs replaced by CDN URLs.