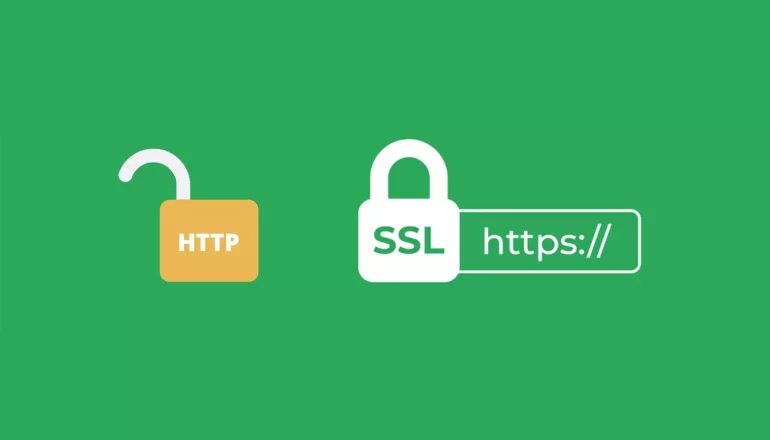
Are you interested in enhancing your website’s security and versatility? Or perhaps, you are interested in expanding the reach of your SSL certificate. Here, you will discover how to protect your website with SSL certificates, whether paid or free SSL certificate.
SSL certificates help to safeguard online communications, guarantee the privacy and integrity of transmitted sensitive and personal data, and establish trust between users and websites. However, as websites evolve and grow, so do their requirements. Thus, many organizations, at some point, seek to secure multiple domains or subdomains under a single SSL certificate. This is where the incorporation of Subject Alternative Names (SANs) comes into play.
For instance, adding SAN(s) to an existing SSL certificate allows you to expand its protective scope to encompass a wider array of domain names, enabling a more comprehensive and versatile security strategy. We will explore the benefits of utilizing SAN(s) and provide a detailed, step-by-step guide to empower you to fortify your online security, broaden your website’s reach, and instill confidence in your users within this article. Keep reading!
What is a SAN (Subject Alternative Name) Extension?
SAN extension is an additional field within an SSL certificate that secures multiple domain names or IP addresses under a single certificate. What does this mean? It means website owners can protect different domain variations, subdomains, or even IP addresses associated with their online presence by incorporating SANs. This extension offers flexibility, cost-effectiveness, and simplified management for organizations with diverse web assets.
Assessing the Need to Add SAN(s) to an Existing SSL Certificate
It is essential to evaluate the necessity of adding SAN(s) to your existing SSL certificate before learning the technical process of adding SAN(s). Besides, leaving out the required SANs in your certificate can result in security warnings for users and potential loss of trust. Hence, consider the requirements for additional SANs, such as new subdomains, multiple domain variations, or additional IP addresses, as discussed below.
How to Create a Strong Visual Brand Identity- Additional subdomains: Adding corresponding SANs to your certificate is necessary if you have new subdomains that require secure connections. Failure to include these SANs may lead to security warnings for users accessing those subdomains.
- Multiple domain variations: Including the appropriate SANs to cover all domain variations is pivotal if your website or application uses different domain name variations (e.g., www.mybusiness.com, mybusiness.net, etc.). Neglecting to do so might lead to certificate errors and potentially losing users’ trust.
- Additional IP addresses: If your website or application is hosted on multiple IP addresses, each IP address should have a corresponding SAN in the certificate. This ensures proper recognition and trust from web browsers.
Steps to Add SAN(s) to an Existing SSL Certificate
Step 1: Evaluate the existing SSL certificate
Begin by reviewing the details of your current SSL certificate. Check whether it supports the SAN extension. Older certificates or those issued before the need for SANs may not have this capability. If your certificate lacks SAN support, you must obtain a new certificate supporting this extension.
Step 2: Submit the CSR to the Certificate Authority (CA)
Submit the CSR with the additional SANs’ details for certificate renewal. Selecting a reputable CA is vital to ensure the integrity and trustworthiness of the updated certificate. Provide accurate information and validate the additional SAN entries during the submission process.
Step 3: Certificate Validation and Issuance
Upon submission, the CA will validate and confirm the ownership of the domain(s) listed. This validation may involve email verification, DNS record checks, or other methods. Once the validation is complete, the CA will issue the updated SSL certificate containing the requested SAN(s).
Adobe Photoshop CS6: Top Tricks and Tips for Efficient WorkflowStep 4: Installing the Updated SSL Certificate
Replace the existing certificate on your web server with the updated one having the new SAN(s). Configure your web server to utilize the newly installed certificate. Ensure the server configuration reflects the correct SAN entries to establish secure connections for all intended domains and IP addresses.
Testing and Verification
Post-installation, ensure successful SAN(s) integration into your SSL certificate through rigorous testing and verification. Thoroughly examine all secured domains and subdomains by accessing them, confirming that web browsers recognize and trust the certificate. Remain vigilant for potential security warnings or errors, swiftly addressing any identified concerns to maintain a secure environment.
Best Practices
Adhere to the following best practices to maintain a secure, efficient, and streamlined SSL certificate management process:
Understanding And Choosing the Best Keywords For SEO- Regularly review SSL certificate requirements: It is crucial to periodically assess your SSL certificate requirements to stay ahead of any potential need for additional SANs. You can also effectively anticipate and accommodate future changes by being informed about your evolving needs.
- Plan for SAN additions: Instead of addressing SAN additions reactively, take a proactive approach by considering potential SAN requirements in advance. Consequently, you will save time and effort during certificate renewal because you already incorporated future needs into your SSL certificate management strategy. This forward-thinking approach ensures a smooth and efficient transition when adding new SANs to your certificate.
- Maintain detailed documentation: Keep comprehensive records of your SSL certificate management activities. Document essential information such as renewal dates, added SANs, and relevant contact information. This documentation is a valuable resource for future reference, making it easier to track the history of your SSL certificates and manage them effectively.
Conclusion
In an era where cybersecurity threats loom large, adding SAN(s) to an existing SSL certificate is a proactive step towards fortifying your online security. You will seamlessly enhance your web assets’ functionality and protection by taking this step.
We also recommend following best practices to enhance the security and efficiency of your SSL certificate management process, ensuring your organization remains protected and well-prepared for future changes. Stay vigilant, keep your SSL certificates up-to-date, and empower your users with the confidence that their data is secure.
What do WordPress Hacks Mean for the Little Guy?


