Starting to edit photos and images can be daunting. Odds are you know that you’re going to be up against a bit of a learning curve, and that it will take time to learn how the tools and features in your editor work.
That is why knowing a few useful best practices for editing photos and images can make a big difference – and help you to avoid mistakes, edit more effectively, and start building the right habits right from the get go:
- Keep your image files organized
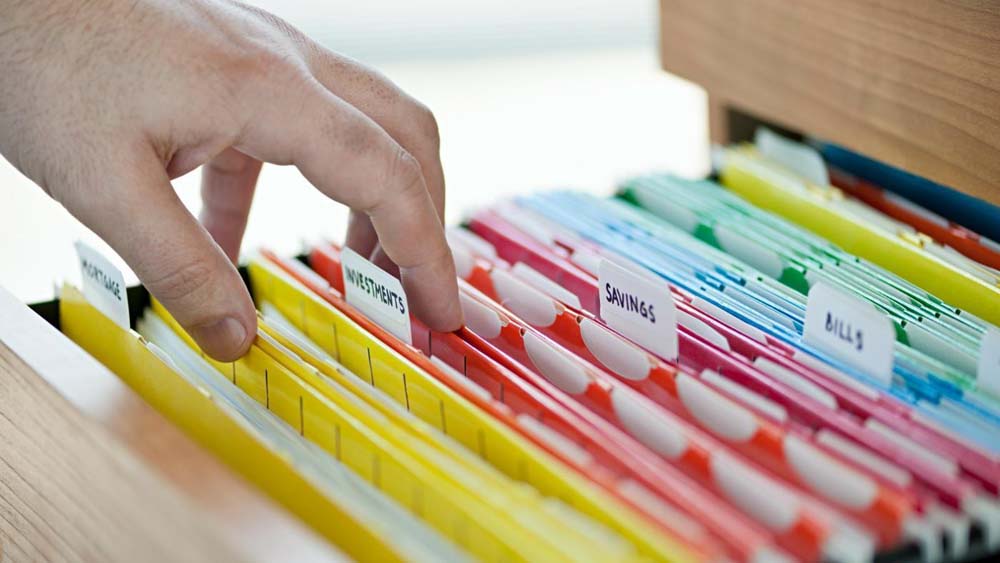
It may not be glamorous or even appealing, but it is important that you organize your image files. If you don’t the files will very quickly become a mess and you will find it difficult to find what you need.
That will result in a lot of time wasted looking for the right files, and in some cases you may even accidentally end up deleting files that you actually need. Some editors may include features to help organize images, or if not you can look at third-party options that may be useful.
- Back up your images
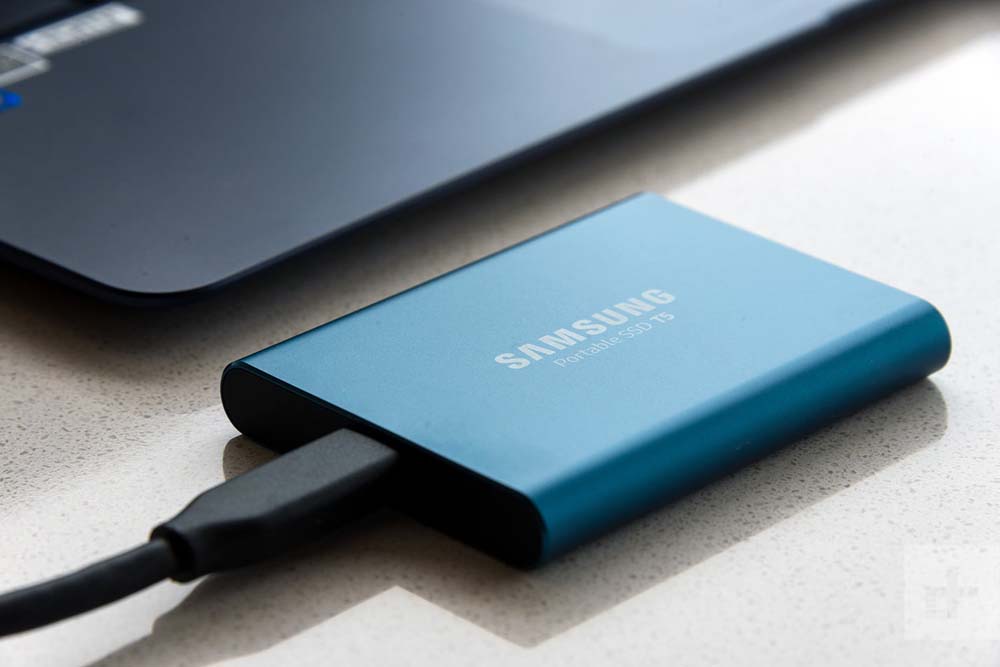
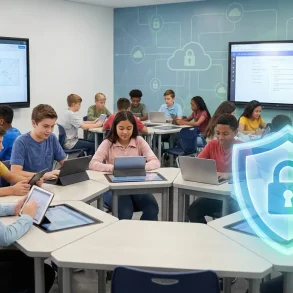
Don’t underestimate the risk that something could happen to your image files. All too often images are accidentally deleted, or entire collections are lost entirely when a hard drive fails.
Web Typography: 10 Ultimate Steps To Follow To Hit The Bull’s EyeTo make sure you aren’t exposed to that risk, you should make it a point to constantly backup your images. It is best to follow the backup rule when you do, to make sure you are as risk-free as possible.
- Start with the big changes first
Although you should adapt your workflow to your preferences, a good rule to embrace is to begin with the ‘big’ changes. In other words you should start with the alterations that will affect your entire image and have a big impact, and only proceed to the smaller and more localized touch-ups later on.
For example you should start by white and color balancing your photo, straightening it, and cropping its frame – and only then move on to removing blemishes, adjusting the tone, and so on.
How to Integrate Promotional Products into Your Marketing StrategyThe one exception to this rule is if you need to sharpen your image – which is best left to last.
- Resize the photo only when it is necessary

Eventually you are going to want to resize your images and export it in the right size based on how it will be used. This photo resizer is quite handy and easy to edit and resize your images with one click. However that should be left to last, and you should make it a point to edit your images in their native resolution.
It should be noted that even when you eventually do resize and export your image – it is best to save the original without altering its resolution. That way you will preserve a copy in the original quality, and if you ever need the image in a different size you can export from it.
Is Free OS X Mavericks Too Good to be True?- Name the layers in your image – descriptively
Many photo editors nowadays will let you add layers to make it easier to edit and perform specific alterations to your image. In fact it is not uncommon for an images to end up with tens of layers added to them during editing.
When you are adding layers to your photos – make sure that you give them descriptive names. If you do, it will make it easier for you to recognize what each layer was for later on, especially if you go back to edit the photo again several weeks or even months down the line.
As you can see each of the best practices described above is useful in its own way. It is best if you try to integrate them in your workflow early on when you’re learning how to edit photos on Mac or PC. Some may help you to avoid unwanted mistakes, and for example you won’t have to worry about accidentally losing images you’re editing in Movavi Photo Editor for Mac.
How to Design More Engaging Website VideosUltimately your goal should be to turn these best practices into a habit that you use consistently when editing your photos. That is why the earlier you start to integrate them into your workflow, the sooner they’ll become second nature and you’ll find yourself using them without even thinking about it.