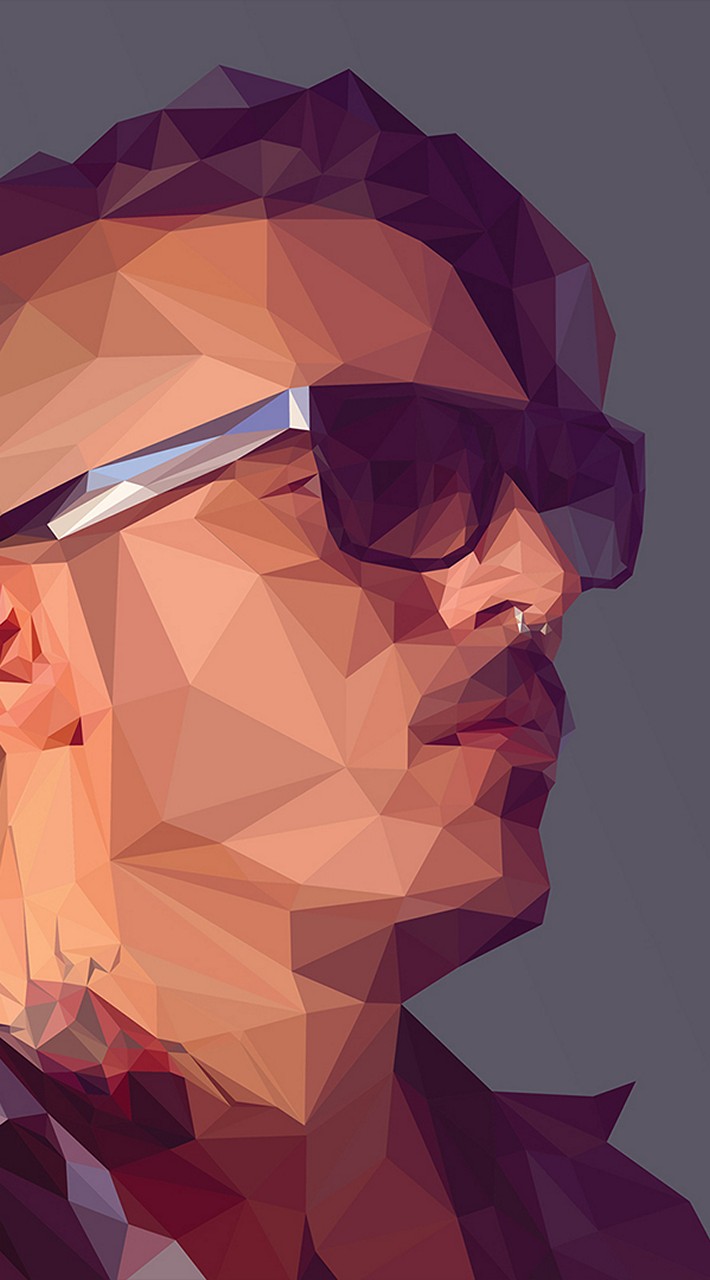
We found a simple and artistic way to create a Low Poly art self portrait tutorial in Photoshop and Illustrator.
This tutorial is made by Breno Bitencourt who is from Brazil and is a Graphic Designer. Low Poly is a technique that eventually used for making 3D models and scenes for video games. We hope you will like this low poly art tutorial. Check this out the creative low poly art self-portrait tutorial.
Create a Low Poly Art

Here I’ll show you step-by-step how to create a stylish low poly portrait in Illustrator and Photoshop. The secret to creating works in this style is working from the best reference photos – and first off Breno reveals how to capture these (using himself as a model). He then reveals how to work these up in Photoshop, then create a vector version in Illustrator.
You don’t need to be an expert in Illustrator or Photoshop to follow this tutorial, as long as you have a good eye – and a good amount of patience. You can watch a video of the creative process of designing a low-poly portrait detailed in this tutorial below.
15 Best Collection Of Adobe Photoshop TutorialsFirst you’ll need a good photo reference.
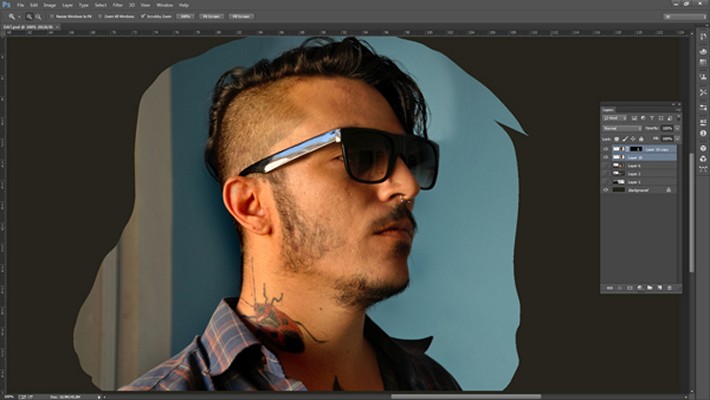
For this tutorial, I decided to create a self-portrait, so I requested a little help from a friend of mine to get the shots. Important tips here are to use perspective to show depth, have a good variance of light and shadow, and try to ensure your model has some hard-edged accessories that will contrast with the softness of skin and clothing (such like glasses, jewellery or a starched collar).
From these photos you’ll need to choose the best fragments to combine in a single image that will form your main reference. As you can see from this screenshot, I’ve chosen the face from one, glasses from other, and other details from other shots. Be picky in this stage, it’s well worth it. For each part, roughly crop around the part you want.
Then open a new document on Photoshop with a black background, and place each of the elements on separate layers.
Creating a Dark and Sleek Brochure Design in Photoshop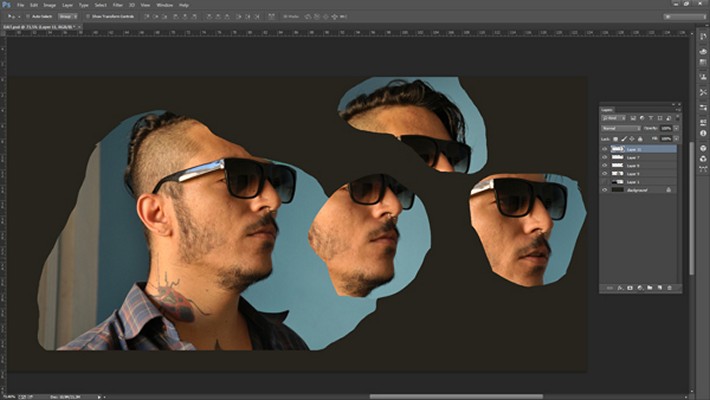
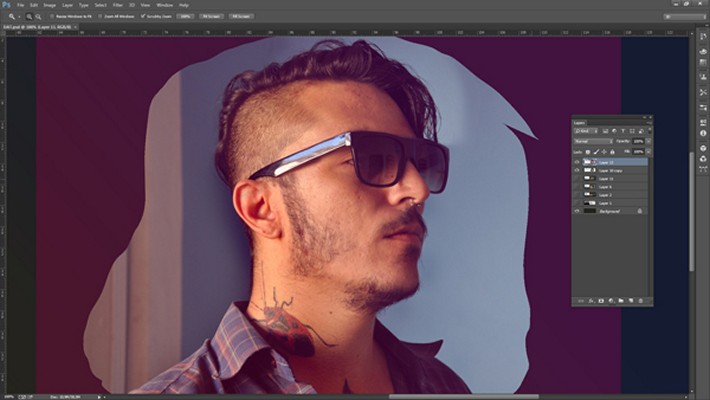
Now, you’ll need to combine them to create your perfect reference.
Erase the unnecessary parts and make a collage of the parts you’ve selected – using masks and blending modes to bring them all together.
20 Poster Design Tutorials for PhotoshopYou don’t have to stick completely to the reality of the photos – you want to create a reference photo that’s as handsome as I am. For example, I wasn’t liking the way the glasses’ arm was sitting on my ear, so I extended it. I also changed some parts of my hair that weren’t very interesting.
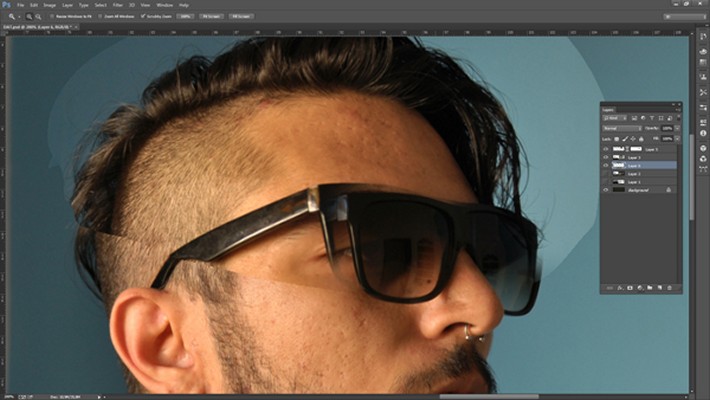
Now you have the integrated image, adjust the contrast, color balance, levels and the like to create a more dynamic image.
15 Best Adobe Photoshop Tutorials of 2015I shouldn’t really say this but I often find using Photoshop’s Auto Contrast, Auto Color and Auto Levels functions (in the Image menu) to be really useful here if you don’t want to manually correct your composite.
I want the colors of my final artwork to be warmer than the reference photo, so to bring it nearer to what I want, I added a solid layer of purple with a Screen blending mode.
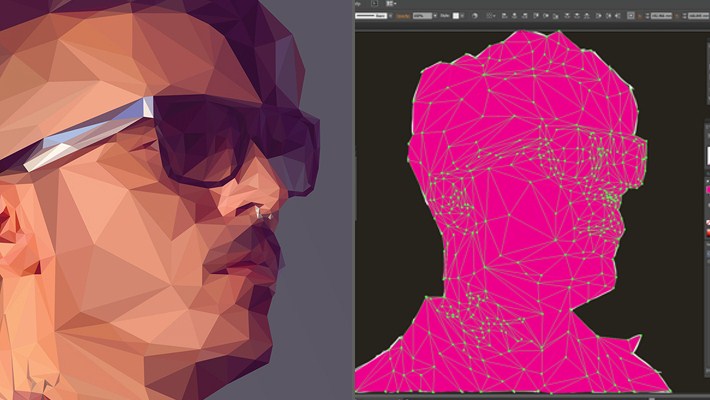
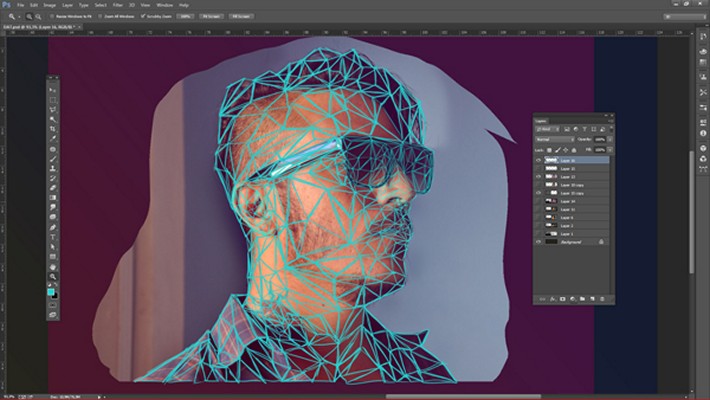
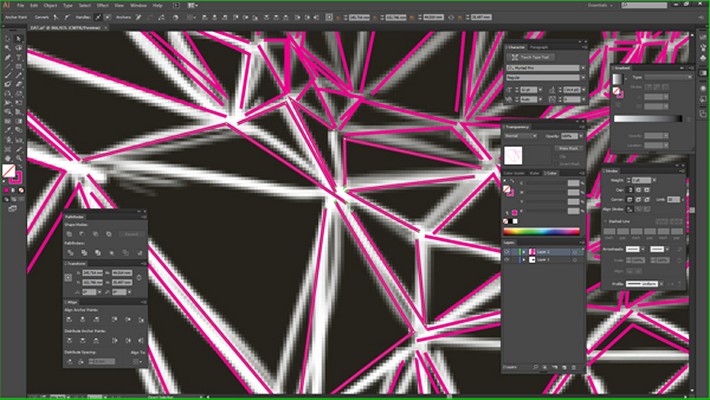
Now we come to the time-consuming part of the process: the triangular mesh.
There’s no secret trick to this – you need to do it by hand. Why? Because your brain is better than any script or automated process at determining the contours of the face.
Here are some guides though. Small parts require small triangles. Never make quadrilaterals – they just look wrong. Stick to triangles. It’s easier if your subject has a straight nose like me. Rounded noses are fiddly.
Create your mesh using a small brush on an empty layer above the image.
Use a light color that contrasts with the portrait. I prefer blue or green, since these are two colors your subject probably hasn’t got in his or her face (unless they have a tattoo of a praying mantis on their neck).
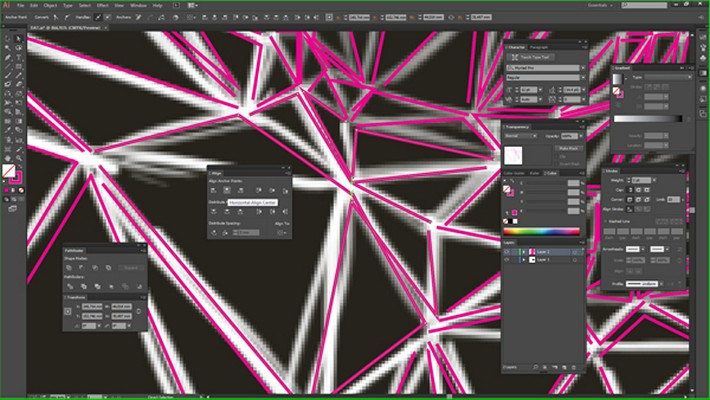
If you’ve got this far, pat yourself on the back – you’ve done much of the hard work (but not all).
It’s now time to refine any mistakes triangles. Hide the image reference, you need to just concentrate on the mesh. Clean it up and look for any triangles you’ve forgotten to create. Once you have perfected it, change its color to white so it contrasts with the black background and save it as a jpg.
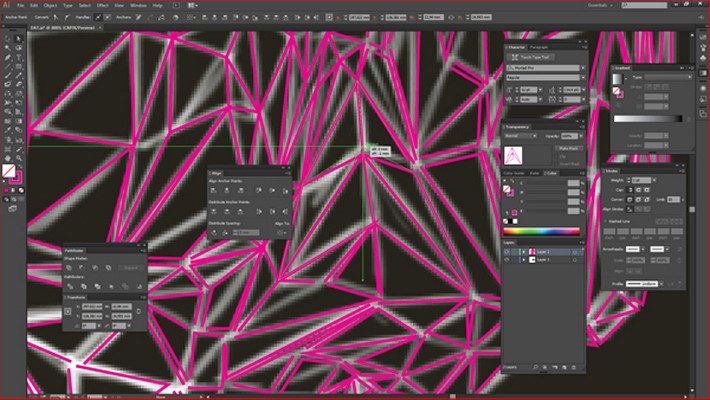
Now fire up Illustrator.

Place your mesh into your art board, lock it and it’s time to trace a vector mesh of triangles over it in a contrasting color (I’ve used as bright purple) using the Pen tool.
Again this will take some time – so put on a nice playlist, your best coffee and let’s get going on this long trip.
Here are a few tips to speed up the process.
You don’t need to close up your triangles, just use the Pen tool to mark out the three points. This might sound silly, but it’ll save you a bunch of time over the hundreds of triangles you’re gonna create.
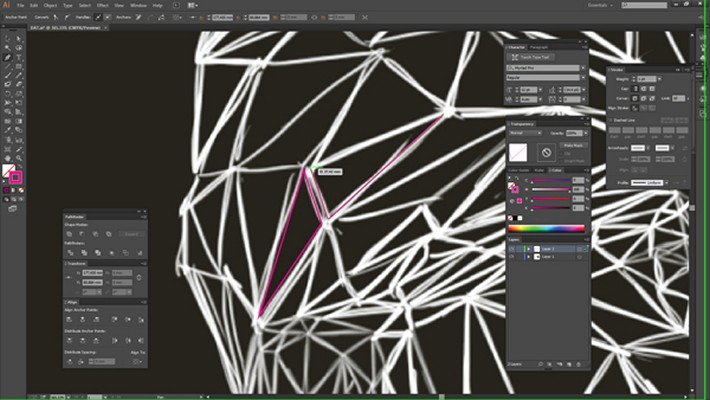
You also don’t need to be that precise – you’ll use a nifty trick to bring them together in the next few steps.

It’s been a lot of work, but you’re good. Take a breather. And remember to save.
Now I’ll teach you the trick to make all points align perfectly at the right position. It’s an easy procedure – but of course, you’ll need to repeat it as times as you have triangles on your portrait.
With the Direct Selection tool, select each group of points that should be at the same place.
Open the Align panel and click on Horizontal Align Center under Align Anchor Points.

Then click on Vertical Align Center and all your points in the exactly the same place. Oh yeah!
Now move the points around to correct their position if needed.
Then repeat steps 10-12 for all of your vertices.

Hide the mesh you created in Photoshop. Again check over your mesh for any missed triangles (I always forgot at least ten triangles per portrait). The best way to do this is to select all of your vectors (Cmd/Ctrl + A) then invert the Fill and Stroke (Shift + X).
If you spot one missing, return the Fill and Stroke to what they should be (Shift + X again), add your triangle and check again. When you’ve got a complete mesh, move onto the next step.

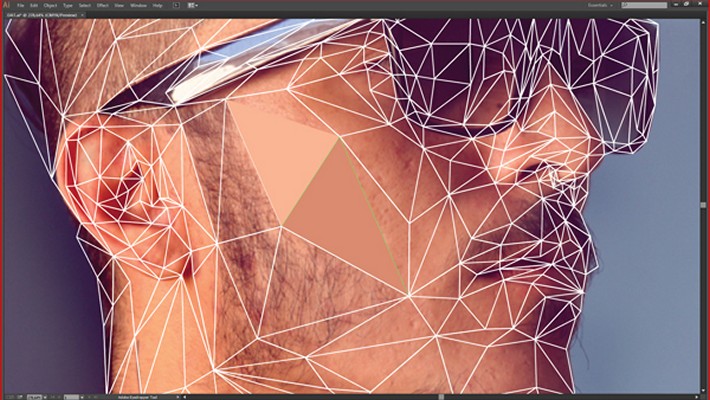
Place your photo reference on a layer below your vector mesh and align them both perfectly. This will allow you to pick out the right colors from your photo for a recognizable portrait. Lock the reference layer.

Now the most fun part – let’s add color. Select each triangle in turn, choose the Eyedropper tool (I) and select the color in the middle of each triangle as fill to it.
Yeah, done! See all details of the result.