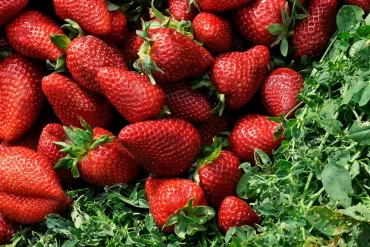
Have you ever wondered what happens when you mix the colors red and green together? It’s a question that has puzzled artists, designers, and color enthusiasts for centuries. On the surface, these two vibrant...

QR Code Generator
Unleash your creativity and efficiency with Downgraf’s free QR Code Generator.
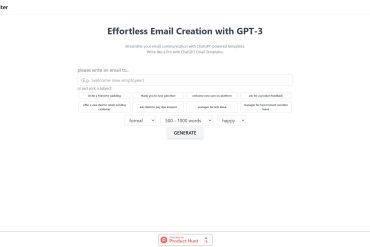
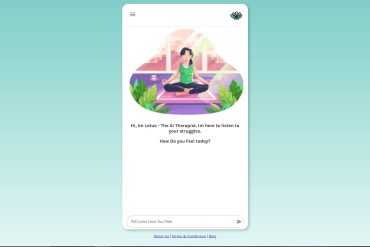
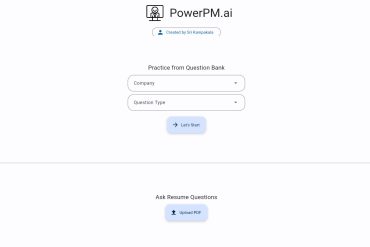
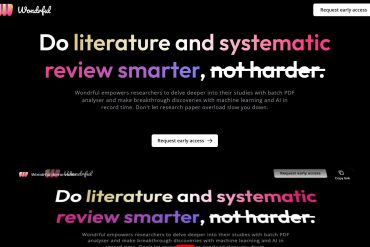
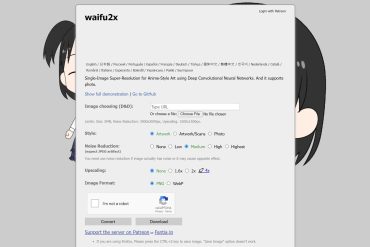
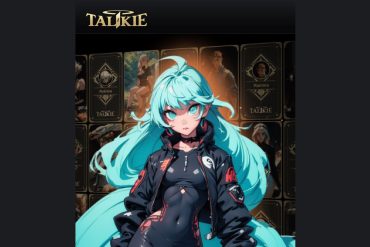
Latest from AI
Latest From Blog


Latest from Advice
Latest from Colors